Overview
Forge is a simplified GUI for generating Runefiles. One can quickly build, test, and deploy their edgeML applications. The main concept is to make a "pipeline". An ML pipeline will take inputs from the outside world, performs some processing/operation, and send the output back to the outside world. One can create an ML pipeline by dragging and dropping nodes from the left-side panel.
You can access Hammer Forge Studio at https://studio.hotg.ai.

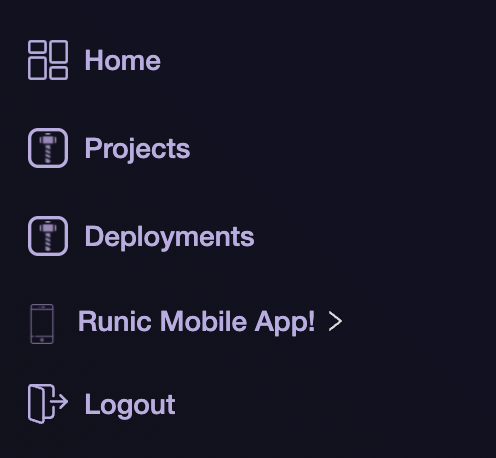
You will land at the studio's home page. From the left side bar, and you can access your created projects by clicking on the Projects button. You can look at the examples to deploy your projects through the Deployment button. Then we have Runic apps:
- iOS
- Android
- PWA
These apps are used for super easy testing of your ML pipelines. You can download them from the left sidebar (highly recommended)

If you face any issue, we have a very experienced community on Discord who is always available to help you. You can take our help by clicking on the Get Help button in the top right corner. Or otherwise, you can always go for documentation. We also publish our release notes where we add what's new has been added to the Hammer Forge Studio. Stay tuned!!

We have created a few templates (CV, Audio, NLP). You can start building a pipeline by choosing the according to your application.
- Inception: This template contains an inception model and pipeline for image classification on the edge. You can use this if you want to create something around Computer Vision.
- MicroSpeech: This template contains a microspeech model and pipeline for keyword spotting classification on the edge. You can quickly start with an application around audio.
- MobileBert: This template contains the BERT model and pipeline for running Question & Answer (Q&A) on the edge. The model outputs an answer to a question from a given text. This will be useful in the NLP usecase.
- Style Transfer: This template contains a style transfer model and pipeline to apply the style of one image onto another image on the edge. It shows how can use two models in a single pipeline. It works like a charm :)
Nodes
Nodes can be broken down into four types described below:
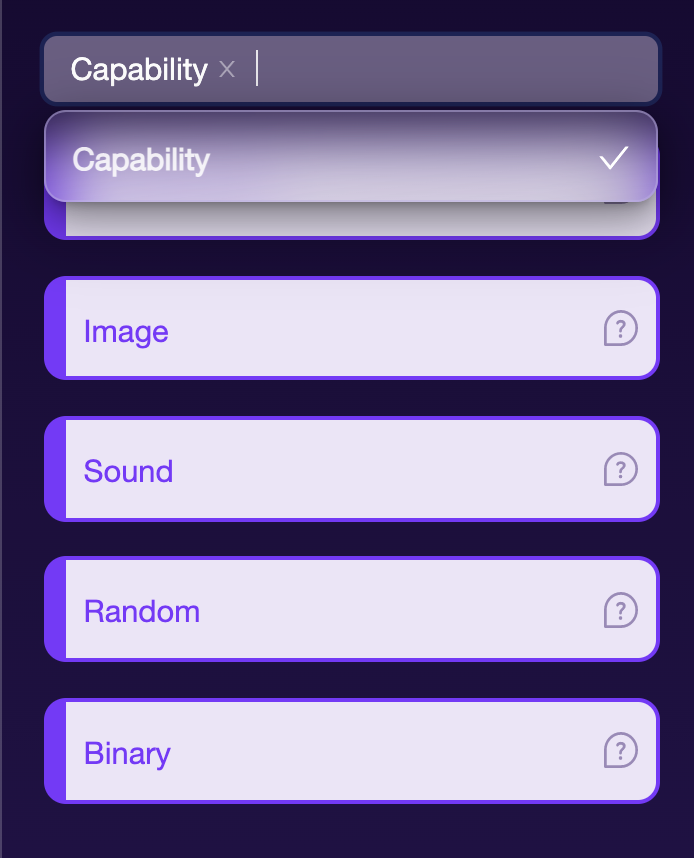
- Capability A capability node is how information from the outside world enters the pipeline. Capability is simplified interfaces to your device that help you get data from sensors into your edgeML pipeline. Go ahead and filter the left side list using the search bar to see the ones we have!

Currently, we support five types of capabilities:
- Accelerometer A capability that will let you collect accelerometer data in a tuple of 3 from your device. This is valuable for gesture detection.
- Image This capability will let you import video and image streams to your edge container. This is a great computer vision application!
- Sound Collect sound signals. It will let you build wake work EdgeML Applications.
- Random A simple capability to gather random numbers in any format you want.
- Binary This capability can help you embed any applications such as text and more.
Processing Blocks A small edge-optimized package exposes functionality for transforming data from one form to another. We have created a list of proc-block for you. You can find it here.
Models You can drag simple off the shelf models that can be used to build any sort of ML pipeline :)
Output It is the mechanism to pass information processed by the ML pipeline to the outside world (e.g., the host application).
ML Flow
The idea is to train, build, test, and deploy!
Train You can start with choosing an ML model from the left side panel or could train one for yourself. If you have trained your model yourself, you can upload it into the studio through the Upload Models Button (top right corner). You can see your model in the My Nodes section. Drag and drop the model into the canvas.
Build
Work with your imagination and start building cool ML pipelines. The pipeline will guide the flow of data. Once you are done with the pipeline, hit the Build Button. It will create the Rune for you.
Test Once the build is complete, you can access the Test Button. Click on the Test Button and scan the QR code using the Runic Mobile app. If you are not satisfied with testing, you can tweak the model's training parameters. Re-train it to get a model with higher accuracy. Train, Test, Repeat!
Deploy After being satisfied with the testing, you are ready to deploy your rune. When you click on the Deploy Button, you can see we provide two SDKs (more are coming) for interacting with Forge.
- @hotg-ai/forge - for use in a ReactJS application (either browser or React Native)
- runevm_fl - a Flutter plugin for use in Mobile applications and PWAs
We have created some getting started tutorials that can help you quickly deploy your rune.
Templates
We have created a few templates of (CV, Audio, NLP). You can use them to learn how to create an ML pipeline.